Proper cleaning and sterilization of surgical instruments are essential for patient safety, infection control, and the longevity of expensive medical tools. Whether in hospitals, clinics, or manufacturing facilities, knowing how to clean surgical instruments is a vital part of surgical hygiene and healthcare protocols.
In this detailed guide, you’ll learn everything about surgical instrument cleaning procedures, types of sterilization, approved solutions, and best practices to ensure instruments remain sterile and functional.
Why Cleaning Surgical Instruments Is Important
Before we explore the process, it’s crucial to understand why cleaning surgical instruments properly matters:
- Prevents Cross-Contamination: Removes blood, tissue, and biological debris that can transmit infections.
- Ensures Patient Safety: Only sterile instruments can guarantee safe surgical procedures.
- Extends Instrument Life: Proper maintenance prevents corrosion and mechanical wear.
- Meets Global Standards: Hospitals must comply with sterilization protocols like ISO 17665 and AAMI standards.
In short, clean instruments save lives, prevent hospital-acquired infections, and preserve valuable medical assets.
Understanding Surgical Instrument Contamination
After every procedure, surgical instruments become contaminated with blood, tissue particles, and other organic materials. If not removed immediately, these contaminants dry and become harder to clean, leading to corrosion and potential infection risks.
Hence, cleaning should begin as soon as possible after use — ideally within 10–15 minutes.
Step-by-Step Guide: How to Clean Surgical Instruments
Let’s go through the complete process of how to clean surgical instruments — from pre-cleaning to final sterilization.
Step 1: Pre-Cleaning (At the Point of Use)
Pre-cleaning prevents debris from drying on the instruments.
Procedure:
- Immediately after use, wipe instruments with sterile water or a neutral pH enzymatic solution.
- Do not use saline or bleach, as they corrode stainless steel.
- Place used instruments in a basin of lukewarm water to prevent drying of organic material.
- Open hinged instruments slightly to allow better cleaning later.
Purpose:
- Keeps debris soft.
- Protects instruments from corrosion.
- Makes mechanical cleaning easier.
Step 2: Sorting and Disassembly
Before actual washing begins, instruments should be sorted properly.
Procedure:
- Separate instruments by type (cutting, grasping, clamping, retracting, etc.).
- Disassemble multi-part instruments such as suction tips and forceps.
- Inspect for damage or wear — remove broken tools for repair or disposal.
Purpose:
- Avoids cross-damage during cleaning.
- Ensures every surface is exposed to cleaning agents.
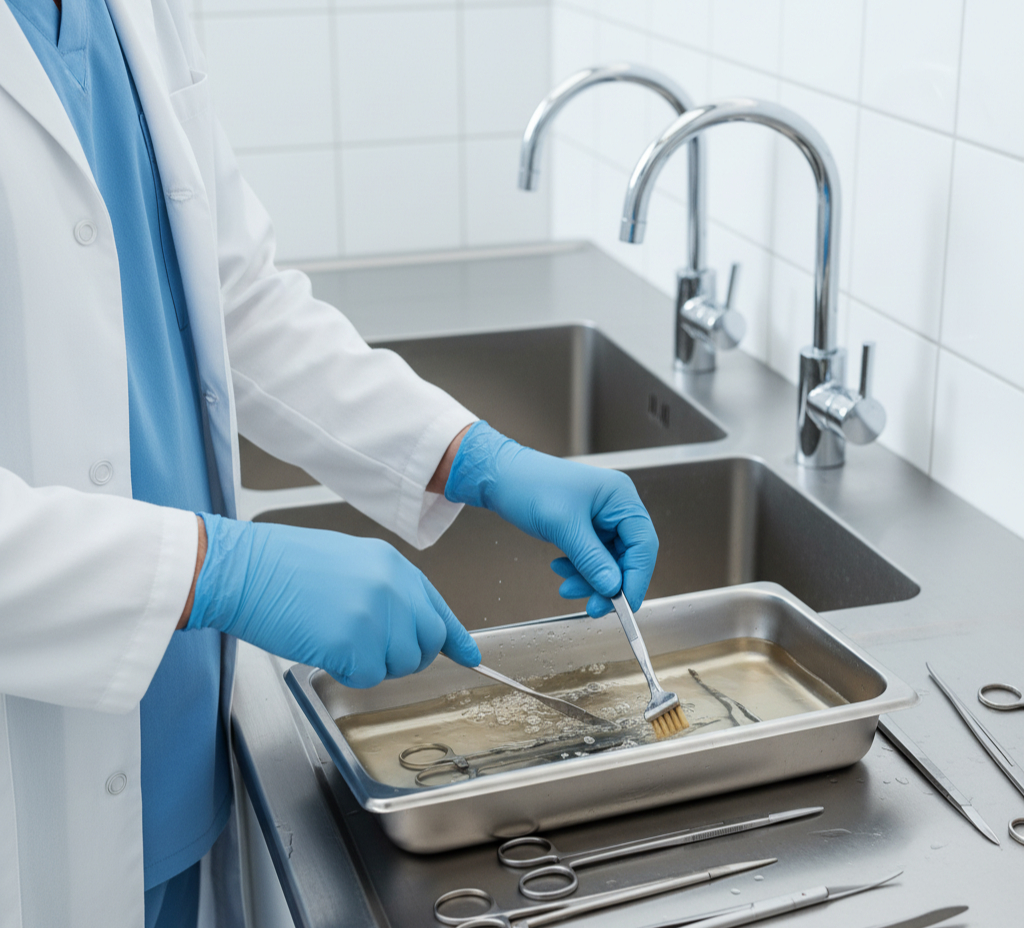
Step 3: Manual Cleaning (Hand Washing)
If automatic cleaning systems aren’t available, manual cleaning is the next step.
Procedure:
- Use a soft nylon brush (never metal) to scrub away visible debris.
- Clean in warm water (27–44°C) with enzymatic detergent.
- Brush under water level to prevent aerosol formation.
- Rinse thoroughly with deionized or distilled water.
- For lumened instruments (like suction tips), use pipe cleaners or syringe flushing.
Key Points:
- Always wear gloves, face shields, and waterproof aprons.
- Replace cleaning solution after every use.
- Avoid high-temperature water initially (it can coagulate proteins).
Step 4: Ultrasonic Cleaning
Ultrasonic cleaning is one of the most efficient methods for removing fine debris from hard-to-reach areas.
Procedure:
- Place instruments in a mesh tray inside the ultrasonic cleaner.
- Fill the chamber with enzymatic cleaning solution.
- Run the ultrasonic cycle for 5–10 minutes at 40–50°C.
- Rinse thoroughly with distilled water afterward.
How It Works:
Ultrasonic cleaners generate microscopic bubbles that collapse rapidly — a process called cavitation — which effectively dislodges dirt and biofilm.
Advantages:
- Cleans internal joints and hinges.
- Saves time and effort.
- Reduces risk of manual damage.
Step 5: Rinsing and Drying
Proper rinsing removes detergent residues, and drying prevents corrosion.
Procedure:
- Rinse instruments thoroughly with distilled or deionized water.
- Dry with lint-free cloths or compressed medical-grade air.
- Avoid towel drying (it leaves lint).
- Ensure hinges are open to allow moisture to escape.
Purpose:
- Prevents rust formation.
- Prepares instruments for sterilization.
Step 6: Inspection and Lubrication
Once dry, inspect each instrument for damage, alignment, and sharpness.
Procedure:
- Check cutting edges, jaws, and locking mechanisms.
- Test scissor sharpness with gauze.
- Lubricate hinged instruments with surgical-grade instrument milk (non-silicone water-based lubricant).
- Wipe off excess lubricant before packing.
Benefits:
- Ensures smooth operation.
- Prevents joint stiffness after autoclaving.
Step 7: Packaging for Sterilization
Proper packaging ensures instruments remain sterile after cleaning.
Procedure:
- Arrange instruments in sterilization trays or pouches.
- Avoid overcrowding — steam must circulate freely.
- Label sets clearly (general, orthopedic, dental, etc.).
- Use indicator tape to confirm sterilization later.z
Purpose:
- Maintains sterility after the cycle.
- Allows easy identification of sets.
Step 8: Sterilization Process
The final step ensures complete microbial elimination.
There are several sterilization methods available:
Types of Sterilization Methods for Surgical Instruments
1. Steam Sterilization (Autoclaving)
- Most common and effective method.
- Uses steam under pressure at 121–134°C for 15–30 minutes.
- Suitable for stainless steel and heat-resistant instruments.
2. Chemical Sterilization
- Uses agents like glutaraldehyde, hydrogen peroxide, or ethylene oxide (ETO).
- Ideal for delicate or heat-sensitive instruments.
- Requires aeration afterward to remove toxic residues.
3. Dry Heat Sterilization
- Used for glass or metal instruments that can tolerate heat.
- Temperature: 160–180°C for 2 hours.
4. Plasma Sterilization
- Uses low-temperature hydrogen peroxide plasma.
- Quick (30–60 minutes) and residue-free.
Sterilization Monitoring
Always verify sterilization success using indicators:
- Chemical Indicators: Tape changes color after sterilization.
- Biological Indicators: Spore test vials confirm total microbial kill.
- Mechanical Indicators: Display pressure, temperature, and time readings.
Common Mistakes to Avoid While Cleaning Surgical Instruments
- Using saline or bleach – causes corrosion.
- Skipping pre-cleaning – debris hardens and becomes unremovable.
- Using high-temperature water too early – coagulates proteins.
- Overcrowding trays – prevents proper cleaning and sterilization.
- Using household detergents – damages metal surfaces.
Best Practices for Surgical Instrument Care
1. Clean Immediately After Use
Never let instruments sit dry — soak them right away.
2. Use Only Approved Solutions
Enzymatic or neutral pH detergents are recommended.
3. Handle with Care
Avoid dropping or forcefully closing hinged tools.
4. Maintain Separate Sets
Use color-coded or labeled trays for different departments.
5. Regular Maintenance Checks
Schedule routine inspections to detect early damage or wear.
Recommended Cleaning Solutions for Surgical Instruments
| Type | Description | Example Use |
|---|---|---|
| Enzymatic Cleaners | Break down organic material | Pre-cleaning and ultrasonic cleaning |
| Neutral pH Detergents | Gentle on stainless steel | Manual cleaning |
| Disinfectants | Kill microorganisms | Post-cleaning rinses |
| Instrument Milk | Lubricates joints | Before sterilization |
Professional Enterprises – Trusted Supplier of Surgical Instruments
Professional Enterprises is a leading manufacturer and exporter of surgical, dental, and orthopedic instruments.
Why Choose Us:
- 100% German stainless steel.
- ISO, CE, and FDA certifications.
- Custom logo engraving available.
- Complete instrument sets with sterilization guides.
- Global delivery at competitive prices.
We also provide detailed care instructions and maintenance kits for hospitals and distributors to ensure instruments last longer and perform flawlessly.
Frequently Asked Questions (FAQs)
Q1. How often should surgical instruments be cleaned?
After every surgical use — no exceptions.
Q2. Can surgical instruments rust?
Yes, if not dried properly or cleaned with saline or bleach.
Q3. What is the best method to sterilize instruments?
Steam sterilization (autoclaving) is the most reliable and widely accepted method.
Q4. What temperature kills all microorganisms?
134°C for 15–30 minutes in a standard autoclave cycle.
Q5. Can I use alcohol to disinfect surgical tools?
Alcohol can be used for quick surface disinfection, but not as a full sterilization method.
Conclusion
Proper knowledge of how to clean surgical instruments ensures patient safety, infection control, and tool longevity. The cleaning process—from pre-rinsing and ultrasonic washing to sterilization and inspection—must follow strict hospital standards.
At Professional Enterprises, we not only manufacture premium surgical instruments but also provide detailed cleaning and sterilization guidance to help you maintain peak performance and safety in every procedure.
Investing time in proper cleaning saves lives, money, and ensures surgical excellence.